
Buran Ghati Trek Complete Guide 2026: Route, Cost, Difficulty, Best Time
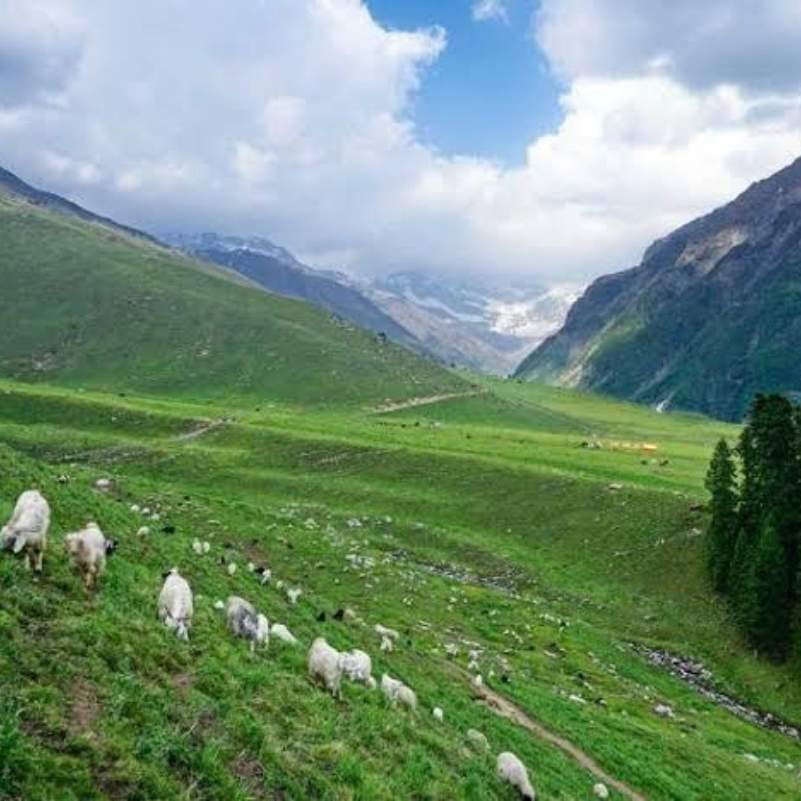
If you are reading about the buran ghati trek, you already know it is not a soft weekend walk. It is a high altitude crossover trek in Himachal that climbs to around 15,000 ft, crosses a real pass, and drops you down a steep descent that people talk about for years.
We have sent trekkers up this route from our Shimla base, and the one thing we tell every single one of them is the same: this trek rewards fit, prepared people and punishes everyone who treats it casually.
This guide gives you the real route, honest difficulty, 2026 costs from actual operators, and the small details most blogs skip.
Quick Answer: Is the Buran Ghati Trek Worth Doing in 2026?
Yes, if you are genuinely fit and want a proper Himalayan crossover trek. The buran ghati trek runs from Janglik to Barua, reaches around 15,000 ft, and takes 7 to 8 days.
It covers roughly 37 to 40.5 km depending on which operator route you follow.
You get pine and oak forests, the open Dayara meadows, the sacred Chandranahan Lake, and the famous steep pass descent that makes this trek special.
Best time is mid May to end June for the snow adventure and mid September to mid October for clear views and autumn colour.
Skip the monsoon and winter completely. The trail turns dangerous and access becomes unreliable.
What Is the Buran Ghati Trek Famous For?
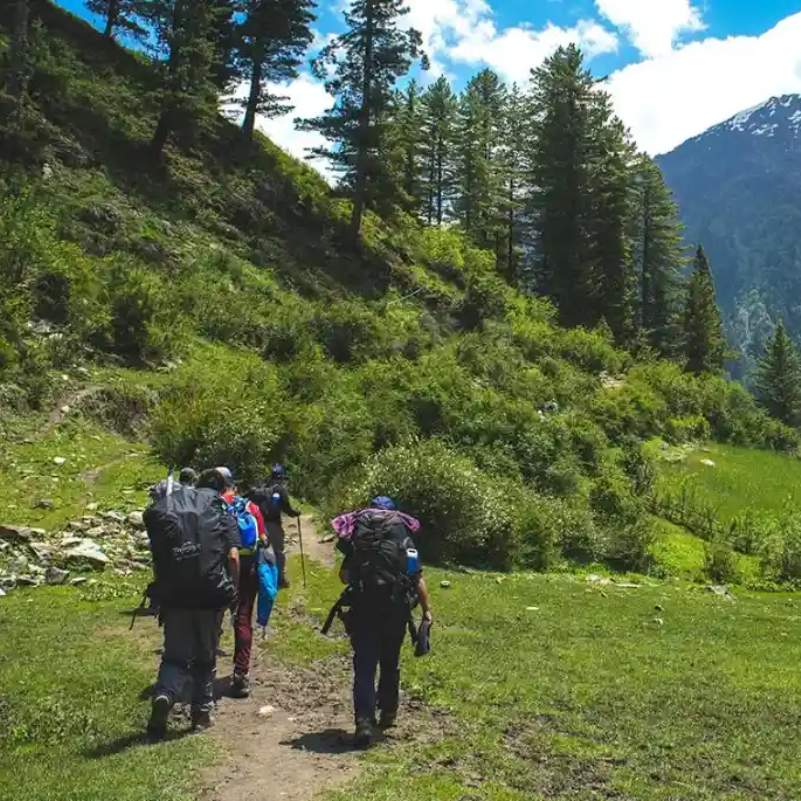
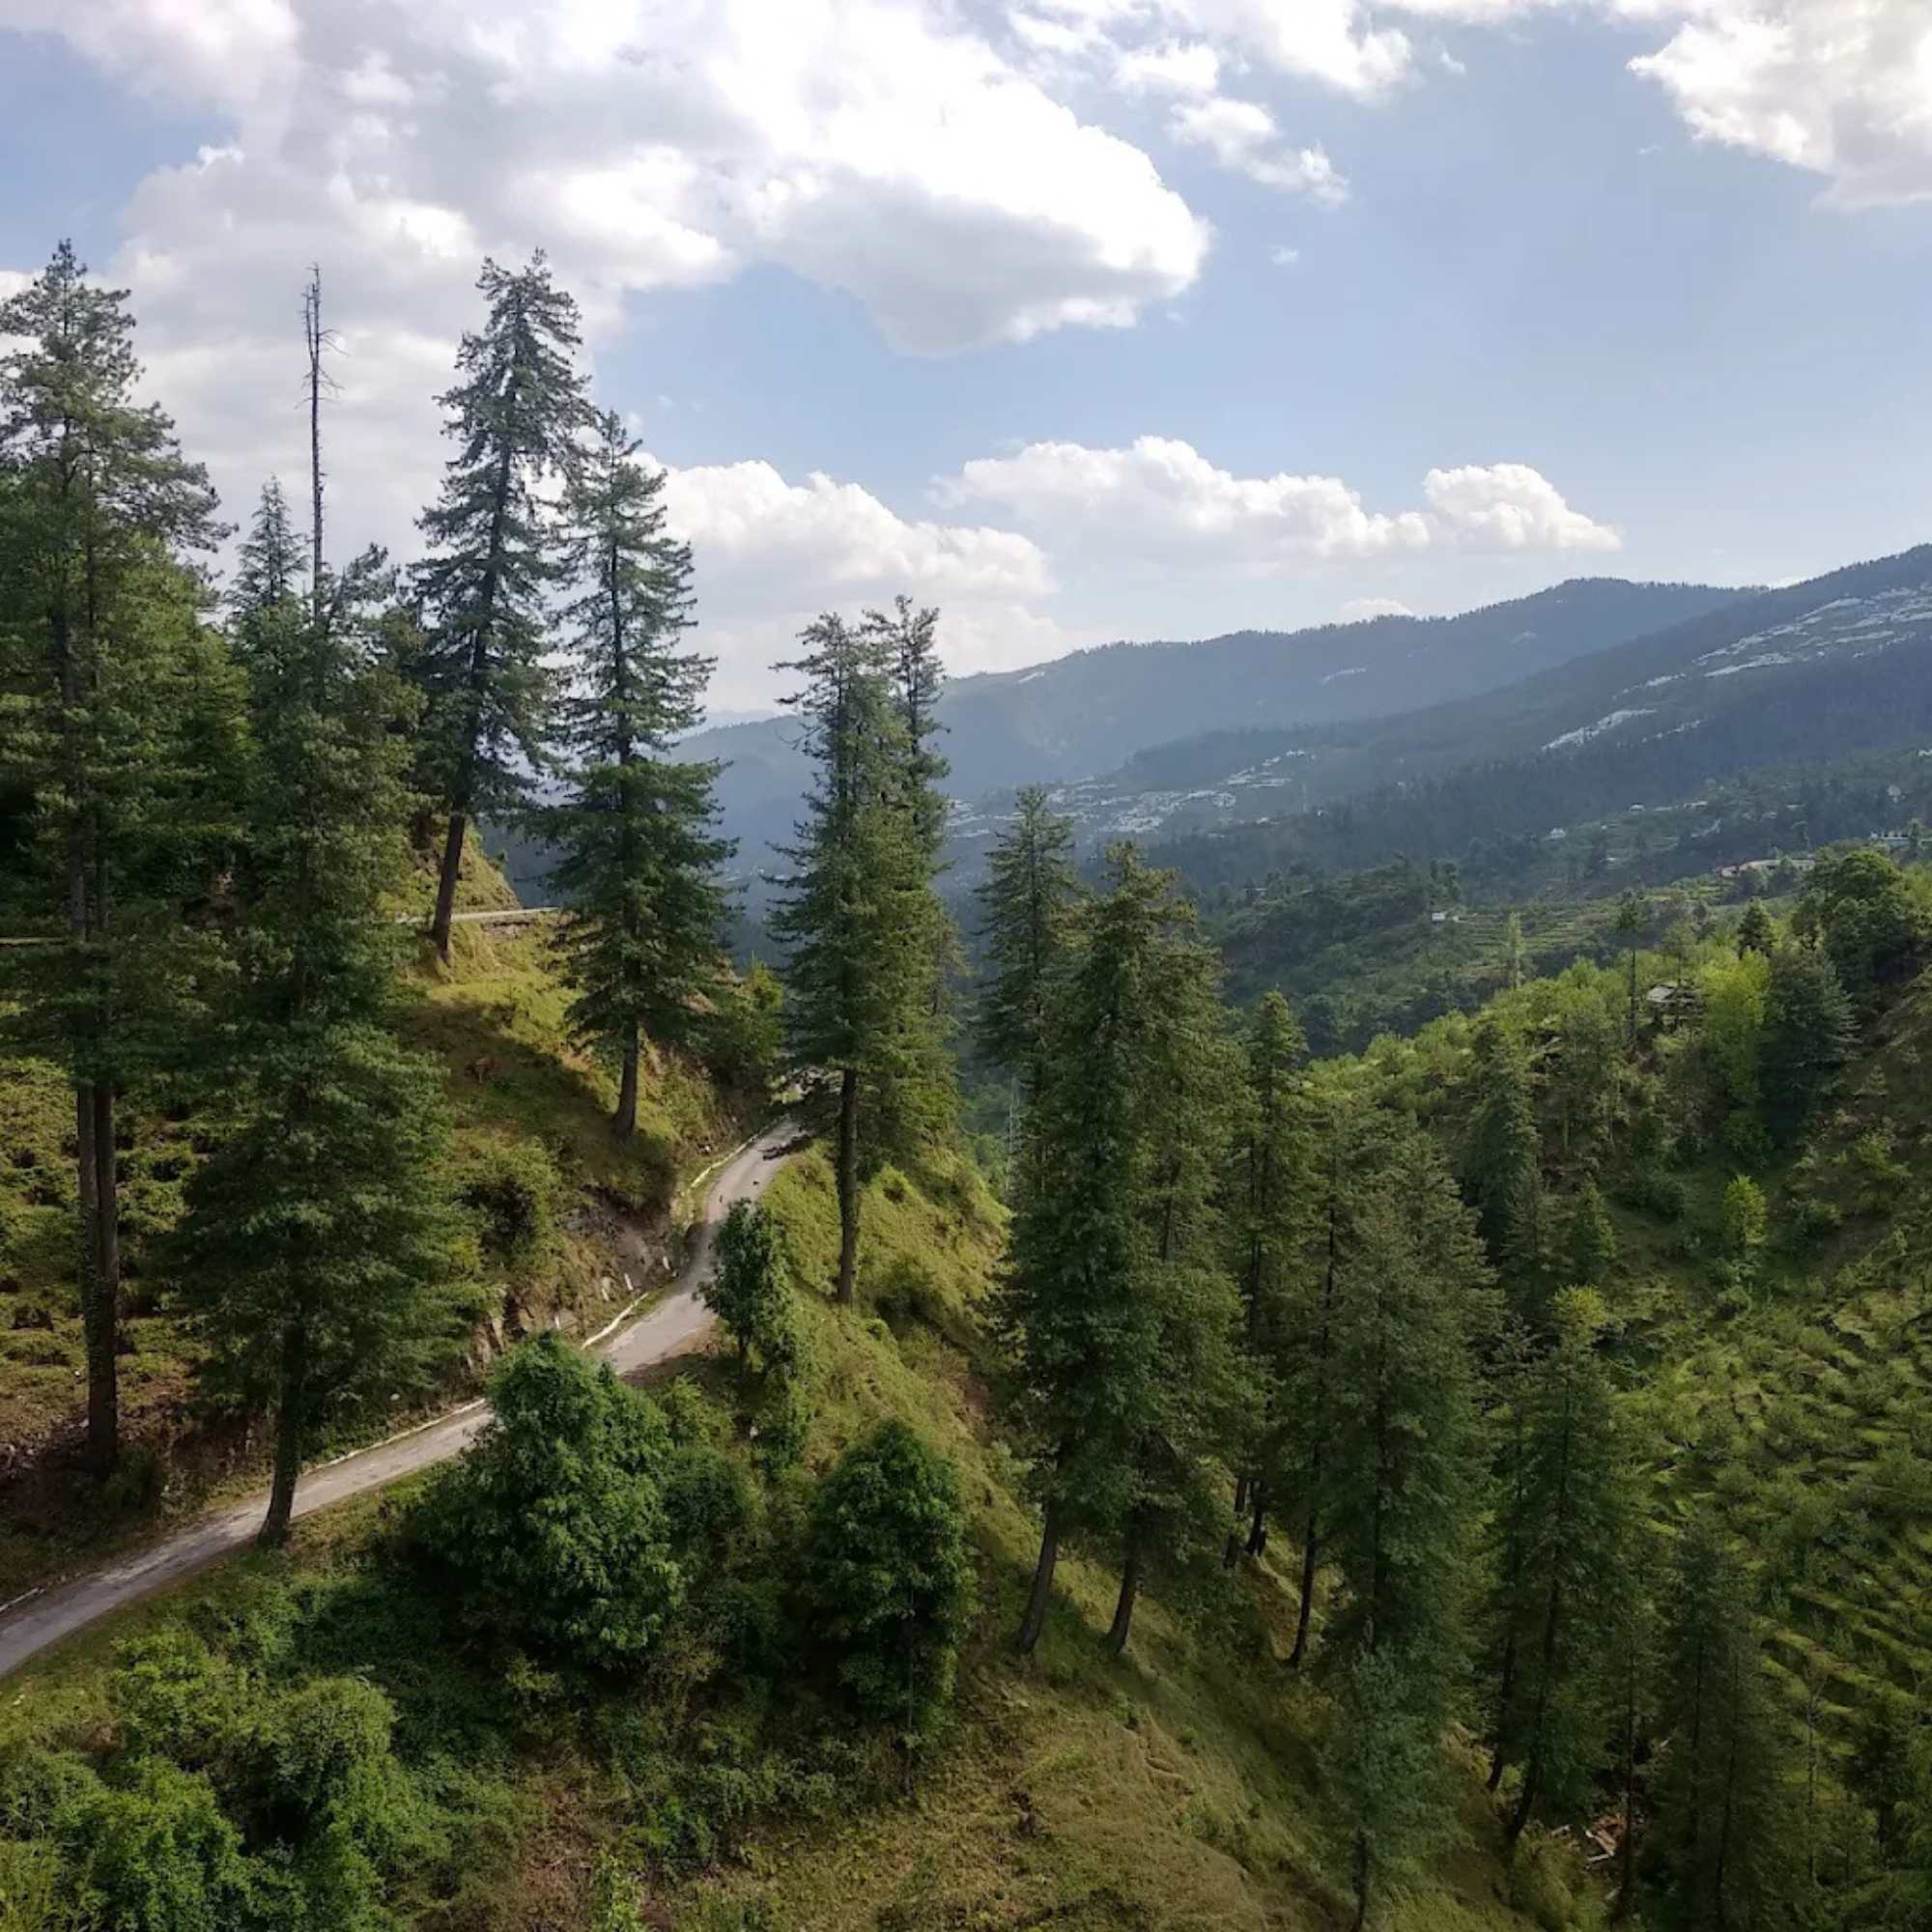
This trek gives you the full Himalayan experience packed into a week. You start near old stone-and-wood villages, climb through thick pine and oak forest, then break out onto the wide Dayara meadows.
From there the trail keeps changing. You camp at Litham beside streams, hike up to Chandranahan Lake, push to the cold rocky camp at Dhunda, and finally cross Buran Ghati Pass itself.
The exit into Barua is a different world. Suddenly there are apple orchards, fruit trees, and green farms after days of bare high mountains.
What most trekkers get wrong is thinking this is just another moderate meadow trek. It is not. The pass day is long and the descent is steep.
In early summer the pass holds a wall of snow and ice, and you often come down it with rope support. That single section is why this trek feels more adventurous than the usual moderate routes.
If you want to base yourself in Shimla before the trek, our Shimla tour packages cover stays and local transport so you arrive rested.
Where Is Buran Ghati Trek Located?
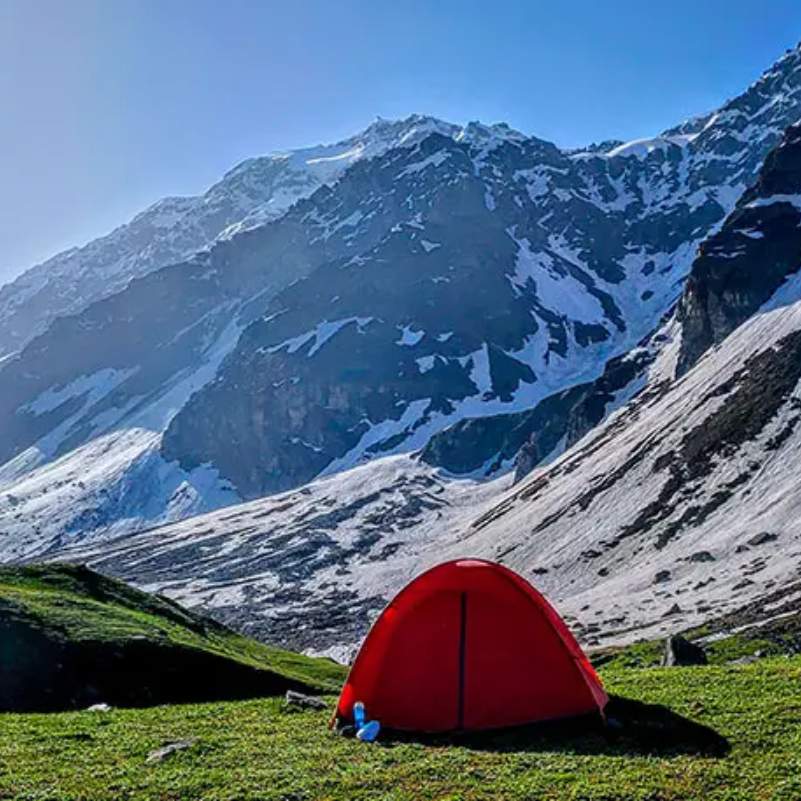
The trek sits in Himachal Pradesh and usually starts from Janglik on the Pabbar Valley side, reached through Rohru and Chirgaon.
From Janglik the route climbs over Buran Ghati Pass and drops down to Barua village on the other side.
The Barua exit lands you in orchard country, which connects neatly with onward Kinnaur travel if you want to extend the trip.
If you plan to continue exploring after the trek, our Kinnaur tour packages pair well with a Barua exit.
How Difficult Is the Buran Ghati Trek?
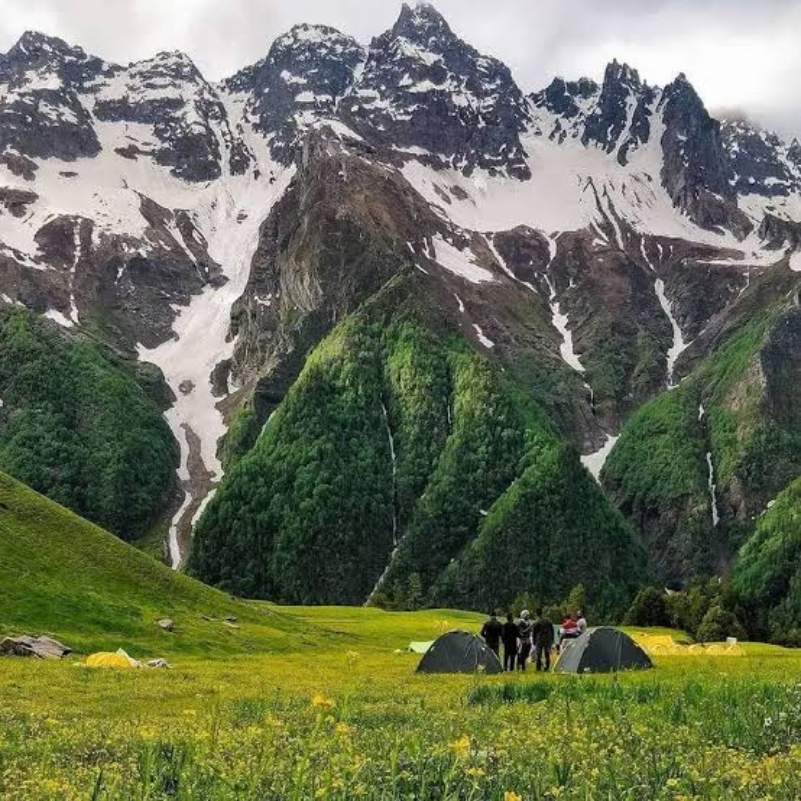
This is a moderate to difficult trek, and we mean the difficult part honestly.
A few things make it tough. You start fairly high, climb to around 15,000 ft, and face a pass day that runs about 9 to 11 hours.
The descent off the pass is steep, sometimes over snow, sometimes over rock. You may need rope support on parts of it.
This is not a casual first trek. If you have never carried a daypack up a Himalayan trail at altitude before, you will struggle here.
Is Buran Ghati Trek Safe for Beginners?
A fit beginner can attempt it, but only with serious training and a reliable trek team handling the technical parts.
We strongly recommend some prior Himalayan trekking experience before you book this one. The altitude, the long pass day, and the rope-supported descent are a lot for a complete first-timer.
You need proper acclimatisation, honest medical screening before you go, and a team that carries rope support for the descent when conditions need it.
A 2025 news report mentioned a Maharashtra trekker who died near Janglik during a Buran Ghati trek. We are not sharing that to scare you. We share it because fitness and health screening on this trek are not optional, and treating them as a formality is how people get hurt.
What we tell our travellers is simple. If you cannot honestly hit the fitness benchmark, push your trek by a few weeks and train. The mountain will still be there.
What Is the Best Time to Do Buran Ghati Trek?
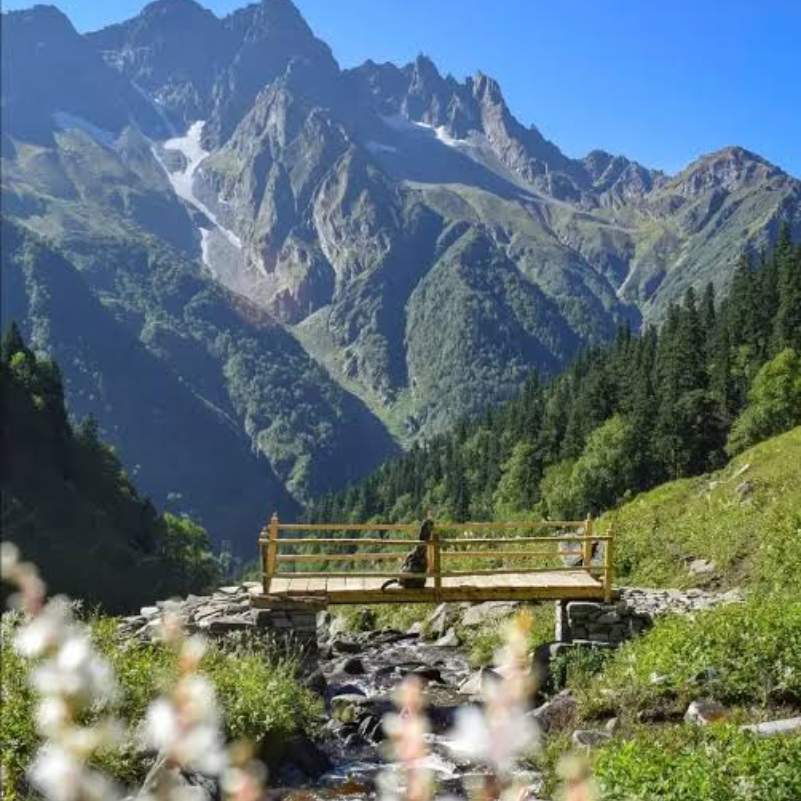
There are two clear seasons, and they give you two very different treks.
Mid May to June is the snow season. You get snowfields, a possible snow wall at the pass, the chance of a rappelling or controlled descent with a trained team, and greener lower meadows.
Mid September to mid October is the clear-view season. You get sharper skies, autumn colours, and a descent that is usually rocky rather than snowy.
Avoid peak monsoon and winter. Rain, landslides, snow, and broken access turn this trail unsafe in those months.
Buran Ghati in May and June
This is the classic snow adventure window. Snow usually stays on the higher stretches and around the pass through this period.
The pass can hold a wall of ice into June, which is what creates the rappelling or controlled descent that the trek is known for, always with a trained team.
The trade-off is real. The trail gets slippery, and nights at the higher camps are properly cold.
Buran Ghati in September and October
This window is better for clear skies and autumn colour across the slopes. There is often little or no snow wall, so the descent tends to be rocky instead of icy.
Do not assume it is warm though. Nights at the higher camps still drop hard, and you will want every warm layer you packed.
In our experience, first-time crossover trekkers do better in this autumn window because the descent is less technical.
>>>Talk to our Himachal team on WhatsApp
Buran Ghati Trek Itinerary: Day-by-Day Route
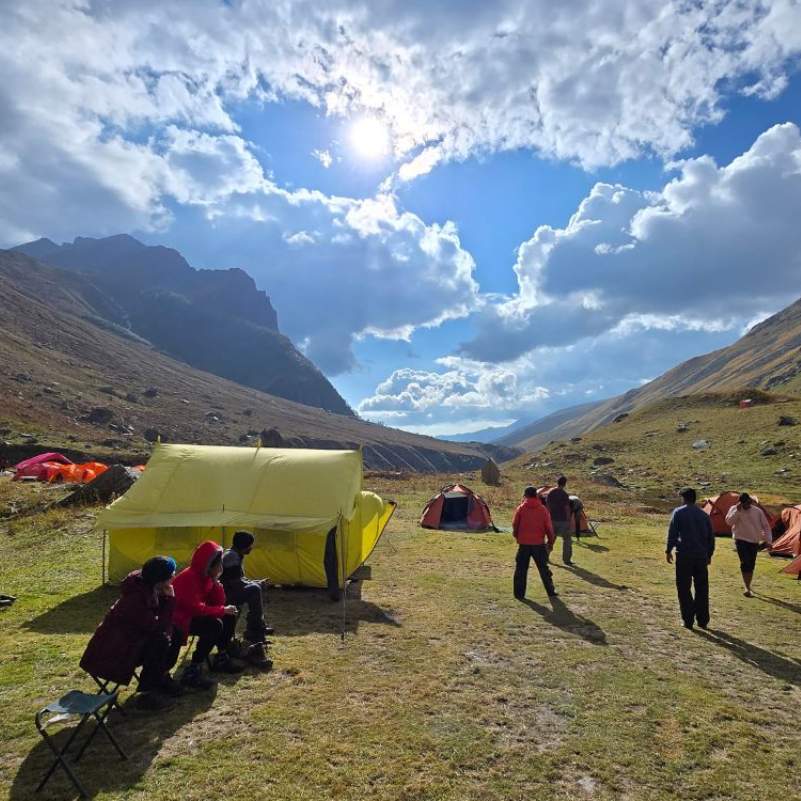
The exact day-wise distance and altitude shift slightly from operator to operator. Always confirm the final route with your team before you book.
Where sources disagree, we have given you the range instead of pretending there is one fixed number.
Day 1: Shimla or Rohru to Janglik
You drive from Shimla to Janglik, roughly 150 to 160 km depending on the source. The drive usually takes around 8 to 10 hours, though some operators quote shorter times.
The route generally runs via Rohru and Chirgaon. The road is fine until Rohru, then the stretch after Chirgaon turns rough and slow.
Janglik sits at around 9,200 to 9,415 ft, so you are already gaining altitude on day one.
Our honest tip: fuel up at Rohru and do not attempt this drive at night. The last section is no place to be after dark.
Day 2: Janglik to Dayara Thatch
You cover around 6 to 7.7 km over 5 to 6 hours, depending on the operator route.
The trail climbs from the village houses through forest before the first big meadow opens up at Dayara Thatch, sitting around 11,110 to 11,150 ft.
This is your first real altitude gain on foot, so go slow and drink more water than feels necessary.
Day 3: Dayara Thatch to Litham
A shorter day of around 4 to 6 km over 3 to 4 hours.
You walk past streams and meadows, through birch, oak, and pine sections, and reach the scenic camp at Litham.
Litham altitude is messy across sources, listed anywhere from 11,483 to 11,800 ft, so do not over-trust a single exact figure.
Day 4: Acclimatisation Hike to Chandranahan Lake
You hike up to Chandranahan Lake and back, roughly 6 to 8.3 km over 4 to 7 hours depending on the operator.
The lake excursion takes you to around 13,020 to 13,200 ft. It is a glacial lake that locals consider sacred, so treat it with respect.
This is not a tourist add-on. The climb-high, sleep-low pattern here is what helps your body get ready for Dhunda and the pass.
Skip this day at your own risk. We have seen trekkers who rushed past acclimatisation pay for it badly on pass day.
Day 5: Litham to Dhunda
A short but serious day of around 4 to 5 km over 4 to 5 hours.
The tree line drops away, the terrain turns rocky, and the camp at Dhunda is colder than anything before it. Dhunda sits around 13,100 to 13,425 ft.
This is your launch camp for the pass. Eat well, sleep early, and get your gear sorted before dark.
Day 6: Dhunda to River Camp or Munirang via Buran Ghati Pass
This is the hardest day. Around 8 to 8.5 km but 9 to 11 hours on your feet, topping out near 15,000 ft at Buran Ghati Pass.
You climb steeply to a narrow pass top, then drop down a sharp descent. Teams often fix rope support here.
In early summer that descent is a snow wall. By autumn it becomes a rocky scramble instead. Either way, this is the section the whole trek is built around.
The camp on the far side sits around 10,745 to 11,100 ft, depending on the operator.
Our timing rule for this day: start before first light. A 9 to 11 hour day means you do not want to be high on the pass when the afternoon weather rolls in.
Day 7: River Camp or Munirang to Barua and Drive to Shimla
The final trek stretch runs around 5 to 7.15 km down to Barua, which sits low at around 7,700 to 7,726 ft.
You walk through orchards, farms, and forest as the air thickens and warms. After a week up high, that descent feels wonderful.
From Barua you drive back to Shimla. The return distance is reported differently across sources, so we will not pin one number.
Keep a buffer day after this before any flights or trains. Mountain roads do not care about your booking schedule.
How Much Does the Buran Ghati Trek Cost in 2026?
Let me give you the actual operator numbers we found for 2026, so you can plan without guessing.
Bikat lists a base price of ₹16,500 plus 5% GST. Their add-ons are ₹3,000 for Shimla to Shimla transport, ₹4,800 for backpack offloading, ₹330 for outdoor insurance for Indian nationals, and ₹2,100 for a single tent. Their buffer day charge is ₹2,500 per day if you use it.
Indiahikes transport costs we found were ₹1,150 plus 5% GST from Rohru to Janglik and ₹2,400 plus 5% GST from Barua to Shimla.
Trekveda lists ₹13,900 plus 5% GST without transport, and ₹16,400 plus 5% GST with Shimla to Shimla transport.
Searching Souls listed ₹16,000 after an early bird discount.
So the visible 2026 operator pricing runs roughly from ₹13,900 to ₹16,500 plus GST before any extras, depending on inclusions and transport.
What is usually included: meals on the trek, camping, tents, sleeping bags or mats, the guide and support staff, safety equipment, and forest permits or camping charges for Indian nationals where the operator covers them.
What is often extra: transport, backpack offloading, insurance, single tent, road meals, personal expenses, rescue costs, and unused buffer day policies.
Here is the money tip a local would actually give you. If you are fit and training properly, skip the ₹4,800 backpack offloading and carry your own pack. That single choice saves you real money and makes you a stronger trekker on pass day.
If you want a sense of how we structure Himachal trips and stays, browse our popular Himachal tours.
How Do You Reach Janglik for Buran Ghati Trek?
Almost everyone reaches Shimla first, then drives in toward Janglik.
For trains, Kalka is the practical major railway station, with the narrow gauge toy train connecting up to Shimla.
For flights, Shimla airport exists but flights can be limited, so Chandigarh is often the more practical air option.
From Shimla you travel by road through Rohru, Chirgaon, Tangnu, and into Janglik.
The roads stay decent until Rohru. After Chirgaon, operators describe the final stretch as rough and slow, so plan extra time.
Fuel up at Rohru, because some sources say there are no petrol pumps beyond that point. Do not drive this last section at night.
Keep offline maps loaded too. Mobile networks get patchy after Chirgaon, so do not rely on live navigation.
If you want us to check the Rohru to Janglik road situation before you commit to dates, contact Travel Coffee and we will help you plan it.
Permits, ATMs, Network, Charging and Road Status
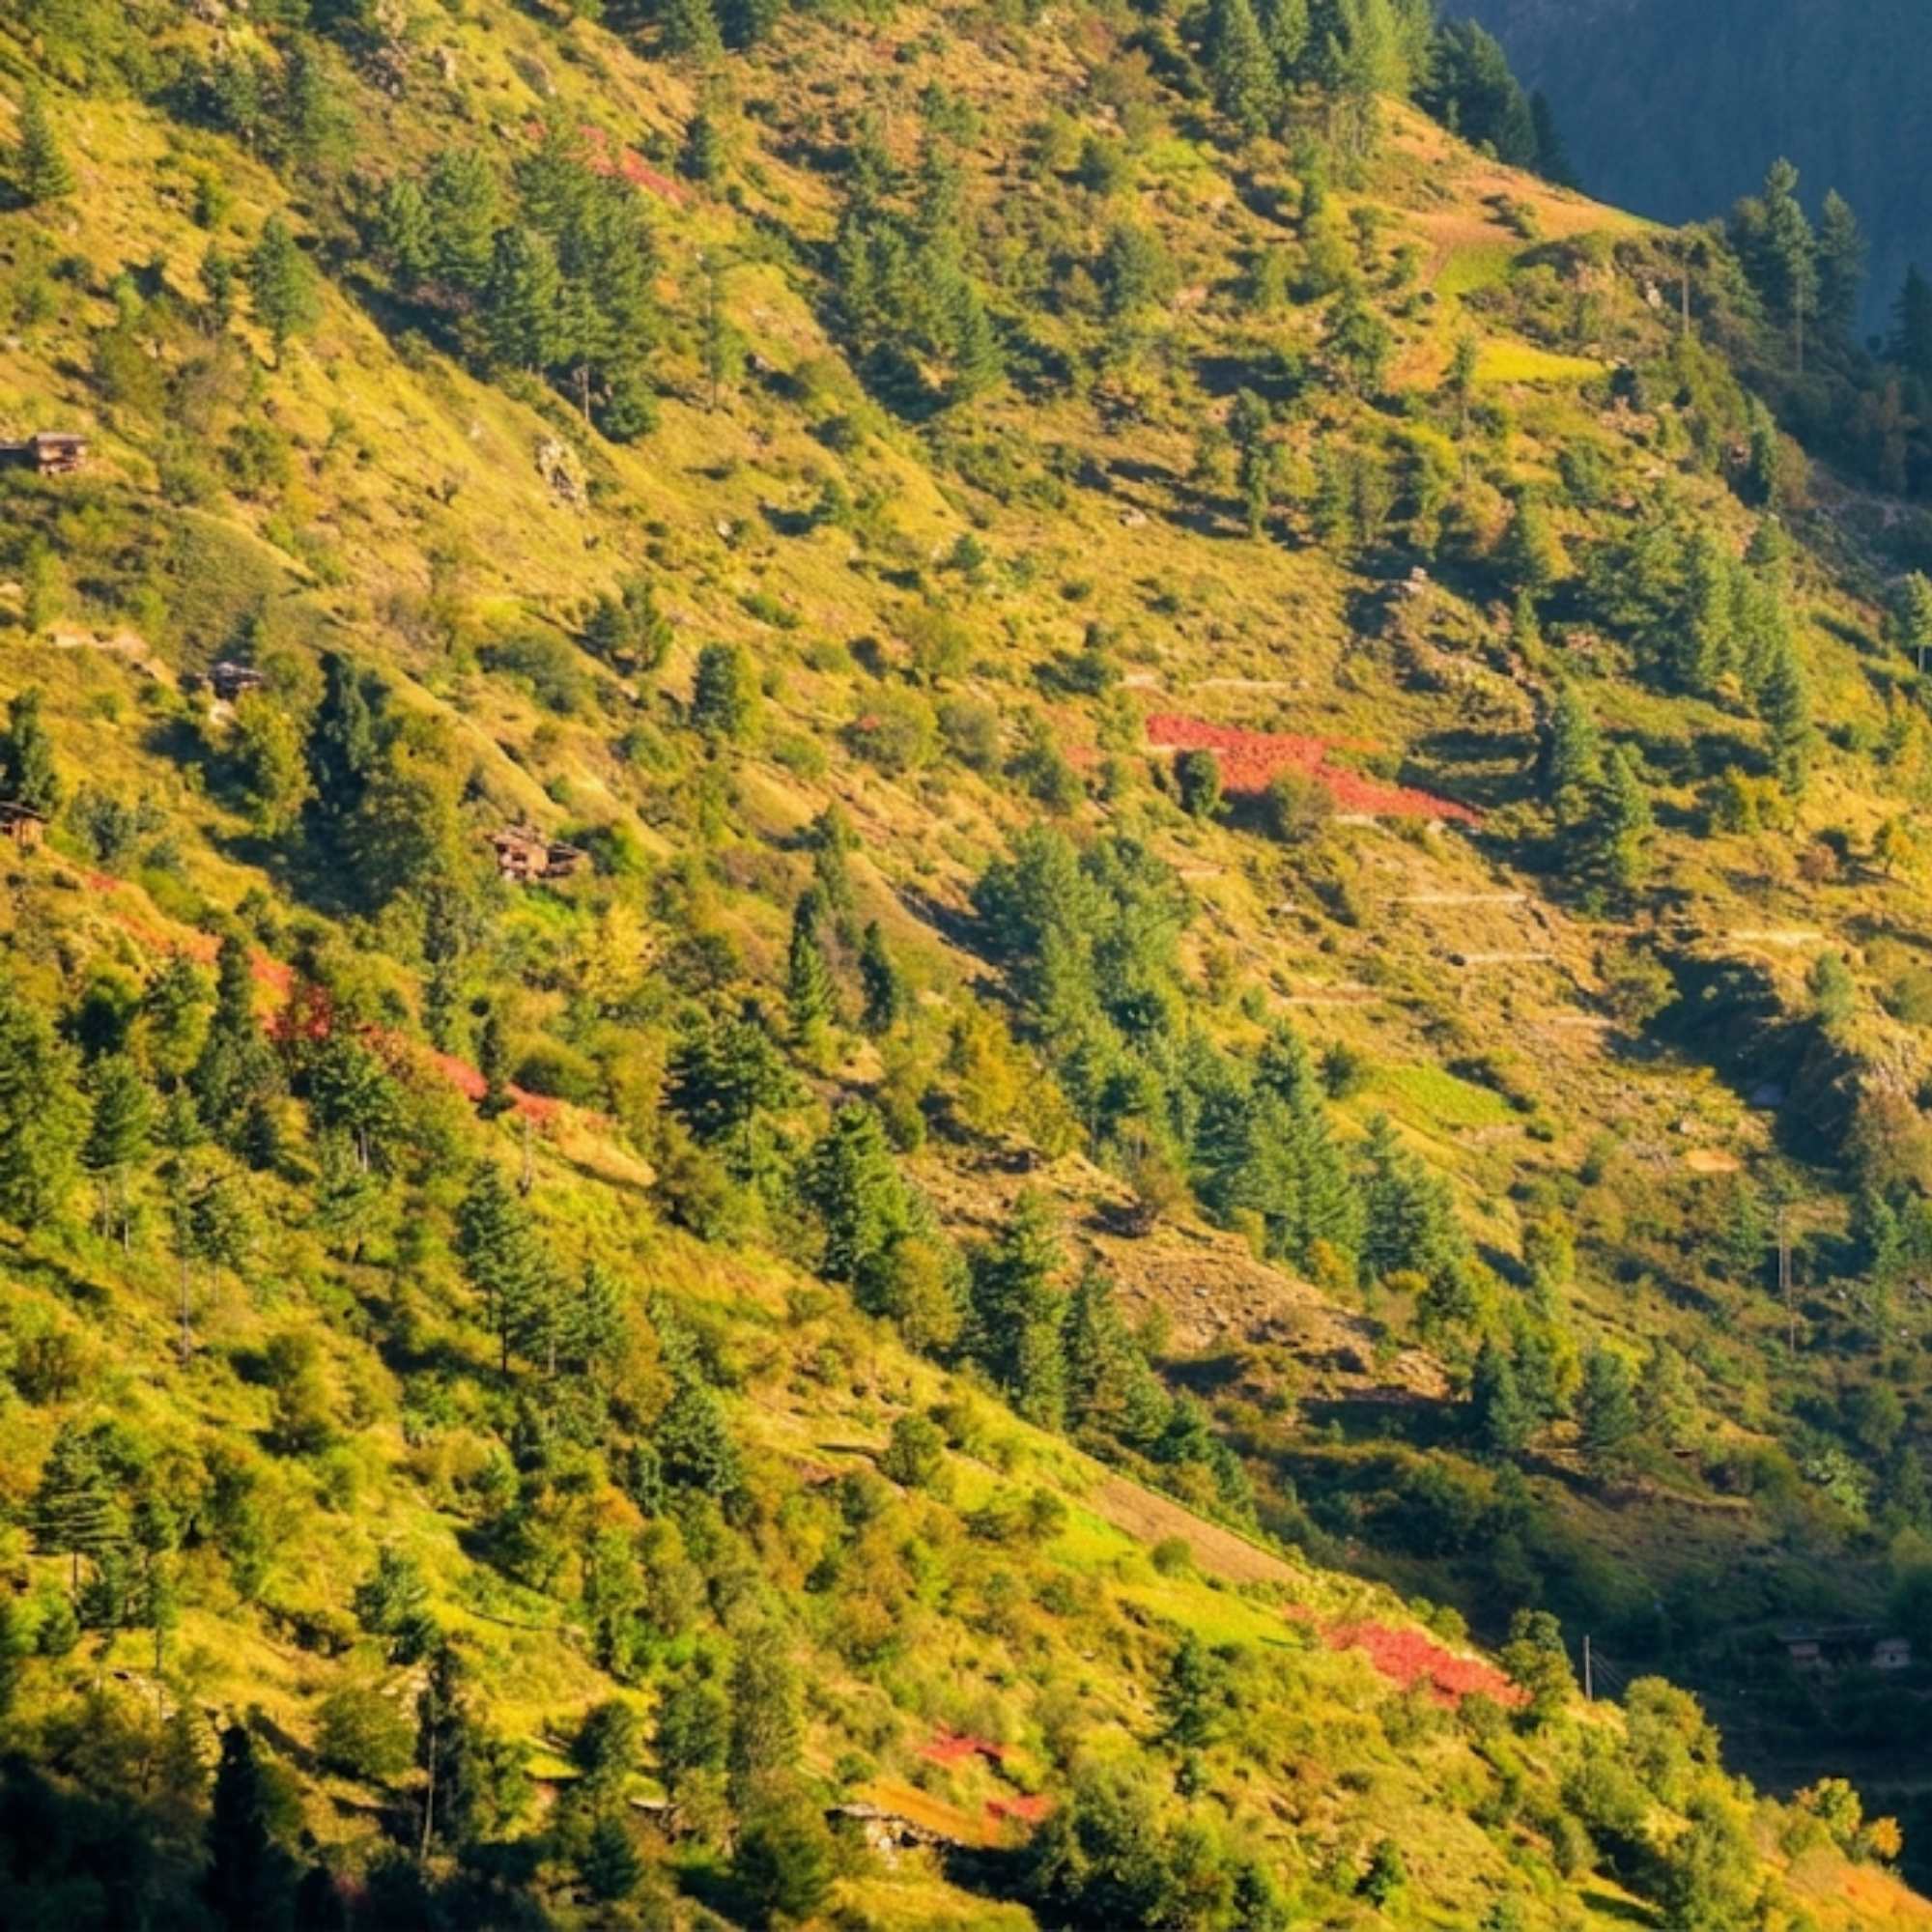
Trek operators usually include forest permits and camping charges, at least up to Indian national rates. Foreign nationals may face different permit charges, so confirm that separately.
Rohru is commonly the last ATM town, so pull out all the cash you need there.
Mobile network is available until Rohru according to JustWravel, and becomes limited or patchy after Janglik or Chirgaon depending on the source.
Charging is a real problem. TTH says there are no charging points throughout the trek, and only Janglik has charging before you start. So carry a fully charged power bank, ideally two.
We could not find an official 2026 Janglik road status source, so verify road and weather conditions close to your departure date rather than trusting an old blog.
What Should You Pack for Buran Ghati Trek?

Pack for cold nights, strong sun, and a long technical pass day. Keep it practical and do not overload.
Carry high ankle waterproof trekking shoes, a 45 to 60 litre backpack with a rain cover, a waterproof jacket or poncho, a fleece, and a down or padded jacket.
Add thermals, gloves, a woollen cap, a sun cap, UV sunglasses, sunscreen, and lip balm. The sun at this altitude burns fast even when the air feels cold.
For health and basics, bring ORS, a water bottle, a personal medical kit, a power bank, toilet paper, a quick dry towel, and your ID proof.
Keep your Aadhaar, PAN, or passport handy, since operators may need them for permits.
Fitness Preparation for Buran Ghati Trek
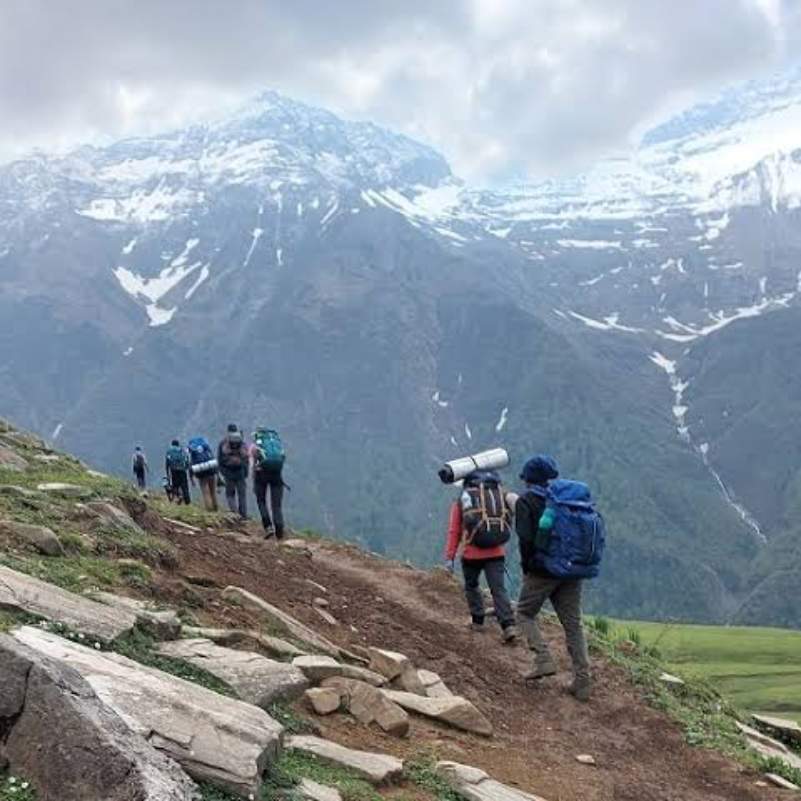
Operators set the bar differently, so treat fitness as a range rather than one rule.
Indiahikes recommends being able to run 5 km in under 32 minutes. Bikat asks for 4 km in 30 to 35 minutes plus extra endurance work. JustWravel suggests 5 km in 30 to 35 minutes.
Give yourself 6 to 8 weeks of real preparation before the trek.
Build it around running, brisk walking, stair climbing, squats, lunges, core work, and backpack walks so your shoulders and legs are ready for the load.
In our experience, the trekkers who train with a loaded backpack on real climbs handle pass day far better than the ones who only ran on flat roads.
Buran Ghati vs Rupin Pass vs Hampta Pass: Which Trek Should You Choose?
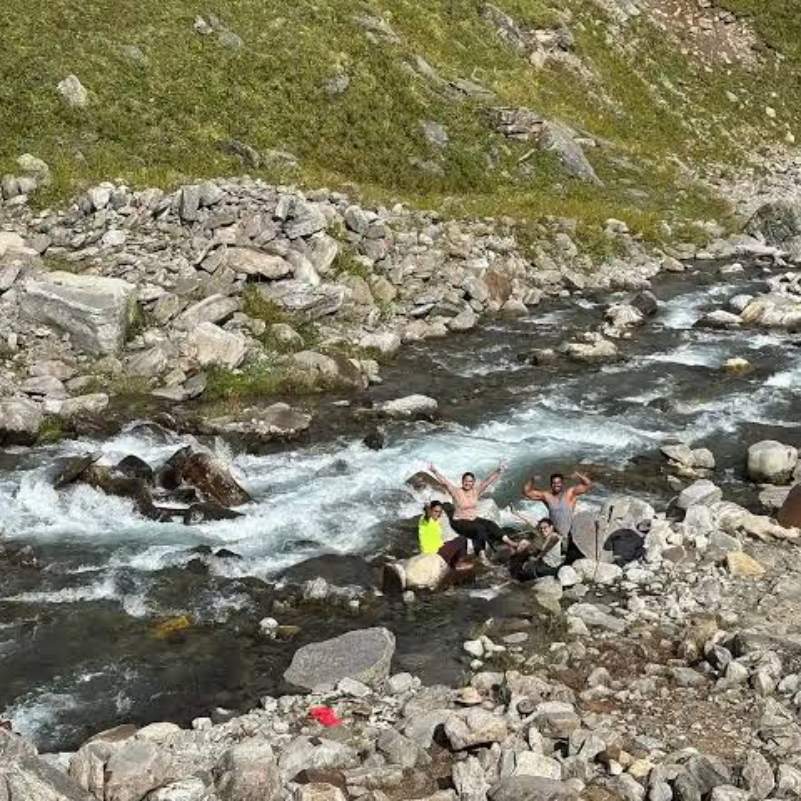
Buran Ghati is the pick if you want compact variety and a genuinely thrilling descent in one week.
Rupin Pass is another legendary crossover trek, often compared to Buran Ghati because of how much the scenery changes along the way.
Hampta Pass is usually the more approachable first crossover-style trek, done from the Manali side, and it suits people easing into this kind of trekking.
If you are still deciding and want a Manali-side base, see our Manali tour packages. And if you are thinking of pairing a trek with a wider mountain trip, our Spiti Valley tour package is worth a look.
Who Should Book Buran Ghati Trek with a Local Himachal Team?
We are Travel Coffee, based in Shimla, Himachal Pradesh, and this is our home ground.
A local team helps with the parts that quietly make or break this trek. Pre-trek stays in Shimla, your Shimla transport, and real checks on the Rohru and Janglik road conditions.
We also help with buffer day planning so a single bad-weather day does not collapse your whole schedule.
And if you want to extend toward Kinnaur or Spiti after Barua, we can build that into the plan instead of leaving you to figure it out at the last minute.
No pressure. If you just want a second opinion on your dates, that is fine too.
>>>Talk to our Himachal team on WhatsApp
Explore Our Curated Chanshal Pass Tour Packages
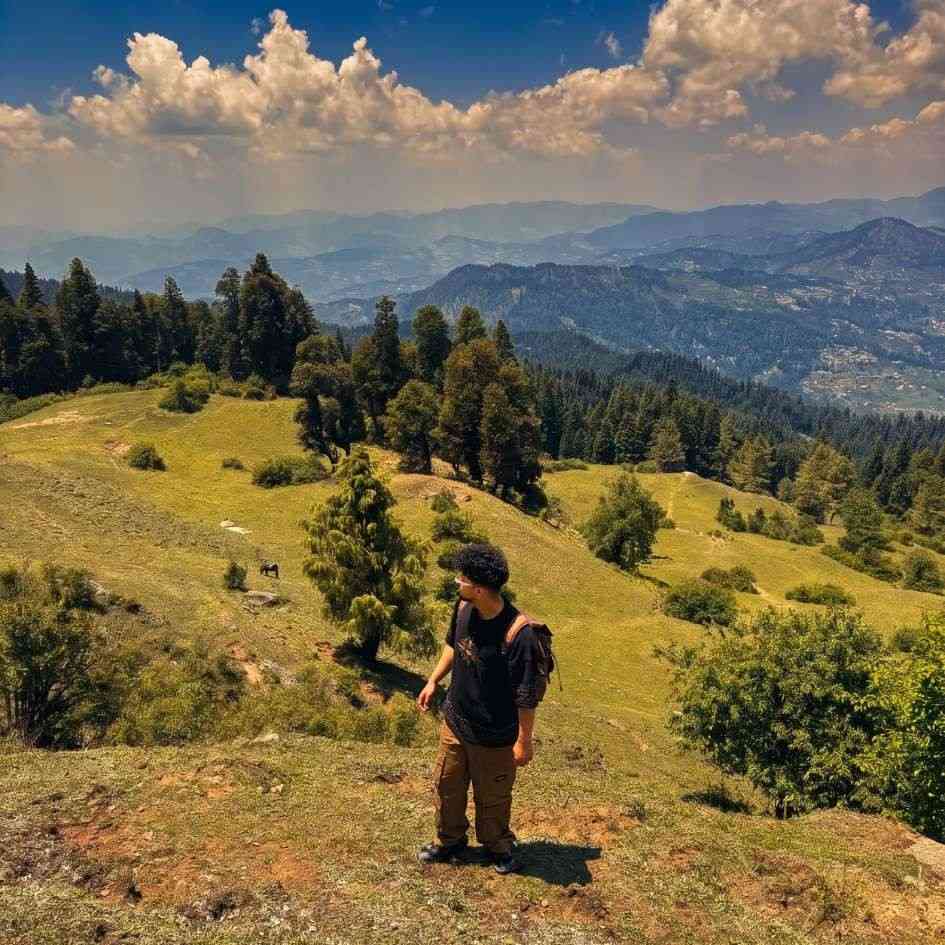 Group Tour5D/4N
Chanshal Pass Weekend Group Trip With Giri Ganga and Kuppar Bugyal
1D Kharapathar / Kotkhai•1D Rohru / Chirgaon (Pabbar Valley)
₹8,999₹12,999SAVE INR 4,000/ person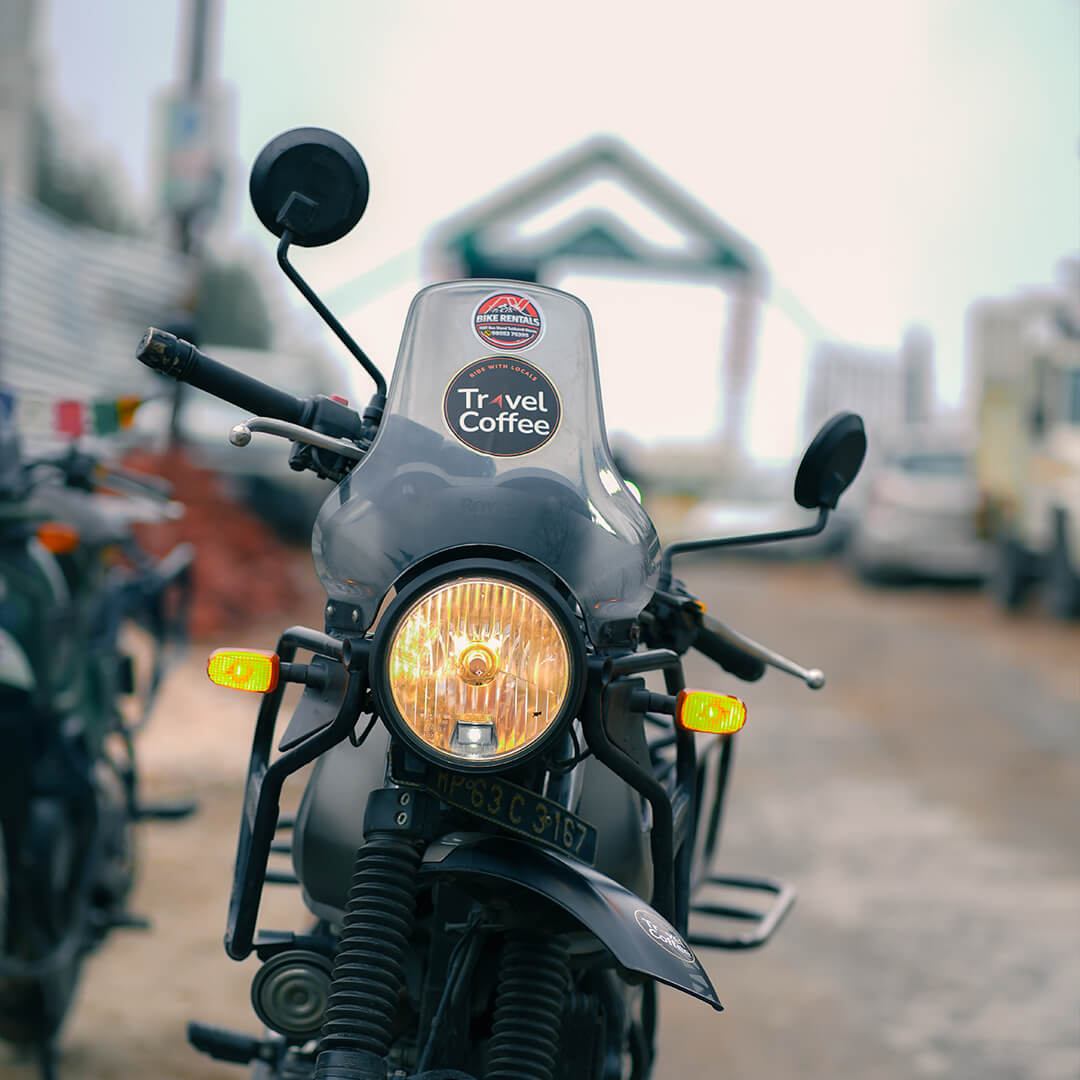 8D/7N
8D/7NUltimate Pabbar Valley Bike Expedition With Giri Ganga Kuppar Bugyal Chanshal Pass and Dodra Kwar
1D Kharapathar / Kotkhai•2D Rohru / Chirgaon (Pabbar Valley)+1
₹29,999/ person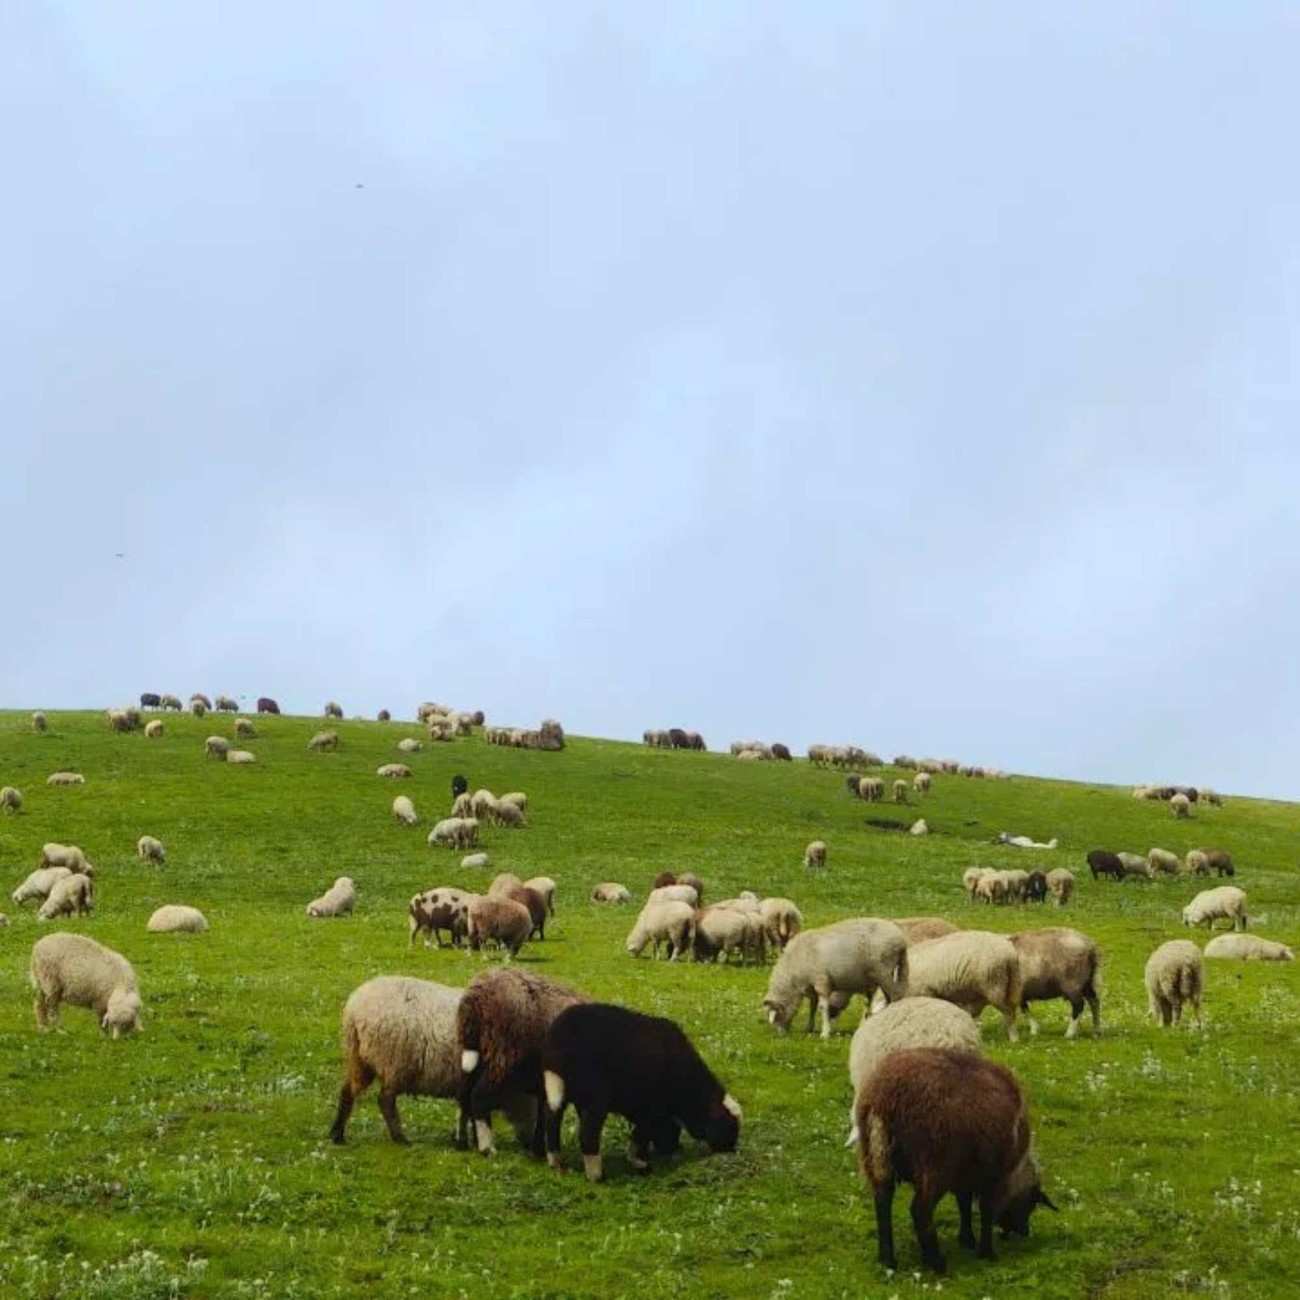 8D/7N
8D/7NMost Loved 4x4 Pabbar Valley Expedition With Giri Ganga Kuppar Bugyal Chanshal Pass and Dodra Kwar
1D Kharapathar / Kotkhai•2D Rohru / Chirgaon (Pabbar Valley)+1
₹32,999₹39,999SAVE INR 7,000/ person
Related topics
Frequently Asked Questions
What is the best time for Buran Ghati trek?
Mid May to end June for snow adventure and a possible snow wall, or mid September to mid October for clear views and autumn colour. Skip monsoon and winter.
How difficult is Buran Ghati trek?
It is moderate to difficult. The high start, the climb to around 15,000 ft, and the long 9 to 11 hour pass day make it tougher than a standard moderate trek.
Can beginners do Buran Ghati trek?
A fit beginner can attempt it with serious training and a strong team, but prior Himalayan trekking experience is strongly recommended.
How many days are needed for Buran Ghati trek?
You need 7 to 8 days depending on the operator structure, including an acclimatisation day and the long pass day.
What is the distance of Buran Ghati trek?
The trek covers roughly 37 to 40.5 km from Janglik to Barua, depending on the exact operator route.
What is the altitude of Buran Ghati Pass?
Buran Ghati Pass sits at around 15,000 ft. Some sources list 15,059 ft or 4,575 m.
How much does Buran Ghati trek cost in 2026?
Visible operator pricing runs roughly ₹13,900 to ₹16,500 plus GST before extras like transport, offloading, and insurance.
Is Chandranahan Lake included in the itinerary?
Yes. Most routes include a Chandranahan Lake hike on the acclimatisation day, reaching around 13,020 to 13,200 ft.
Is mobile network available on Buran Ghati trek?
Network is available until Rohru and becomes limited or patchy after Janglik or Chirgaon. Do not count on signal during the trek.
Are there charging points during the trek?
No. Charging is only available at Janglik before the trek starts, so carry a power bank or two.
Is prior trekking experience required?
It is strongly recommended. The altitude, long pass day, and rope-supported descent make this a poor choice for a complete first-timer.
Which is better, Buran Ghati or Rupin Pass?
Both are excellent crossover treks. Buran Ghati gives you compact variety and a thrilling descent, while Rupin Pass is known for constantly changing scenery. Pick based on the experience you want.
More about Chanshal Pass
 Chanshal Pass
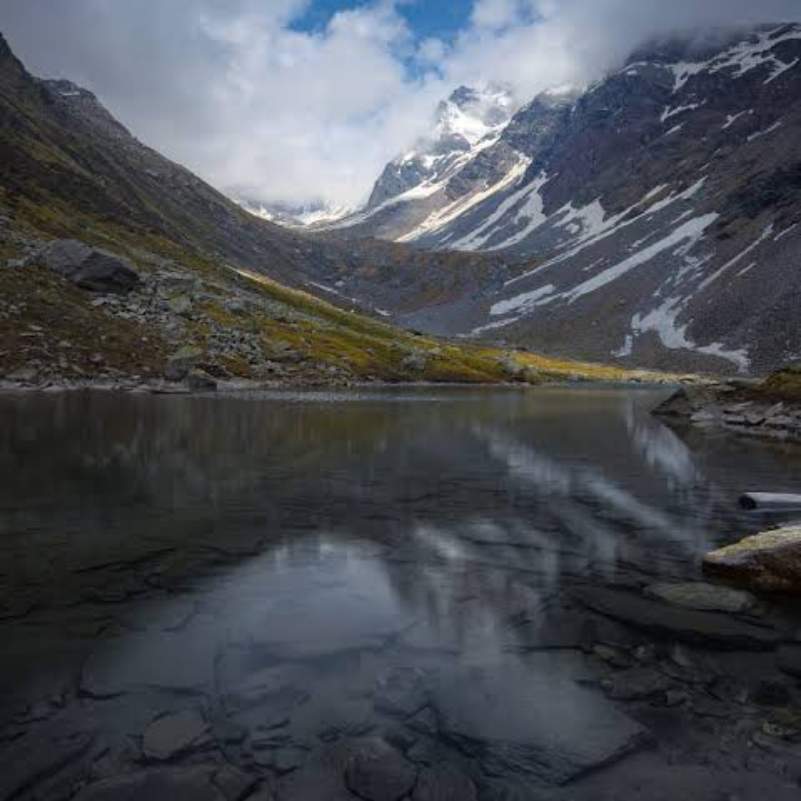
Chandranahan Lake Trek 2026: Source of the Pabbar River
Discover the Chandranahan Lake Trek 2026, a breathtaking Himalayan adventure to the sacred source of the Pabbar River in Himachal Pradesh. Explore pristine alpine meadows, glacial lakes, and spectacular mountain landscapes with this complete trekking guide.
- Things to Do
 Chanshal Pass
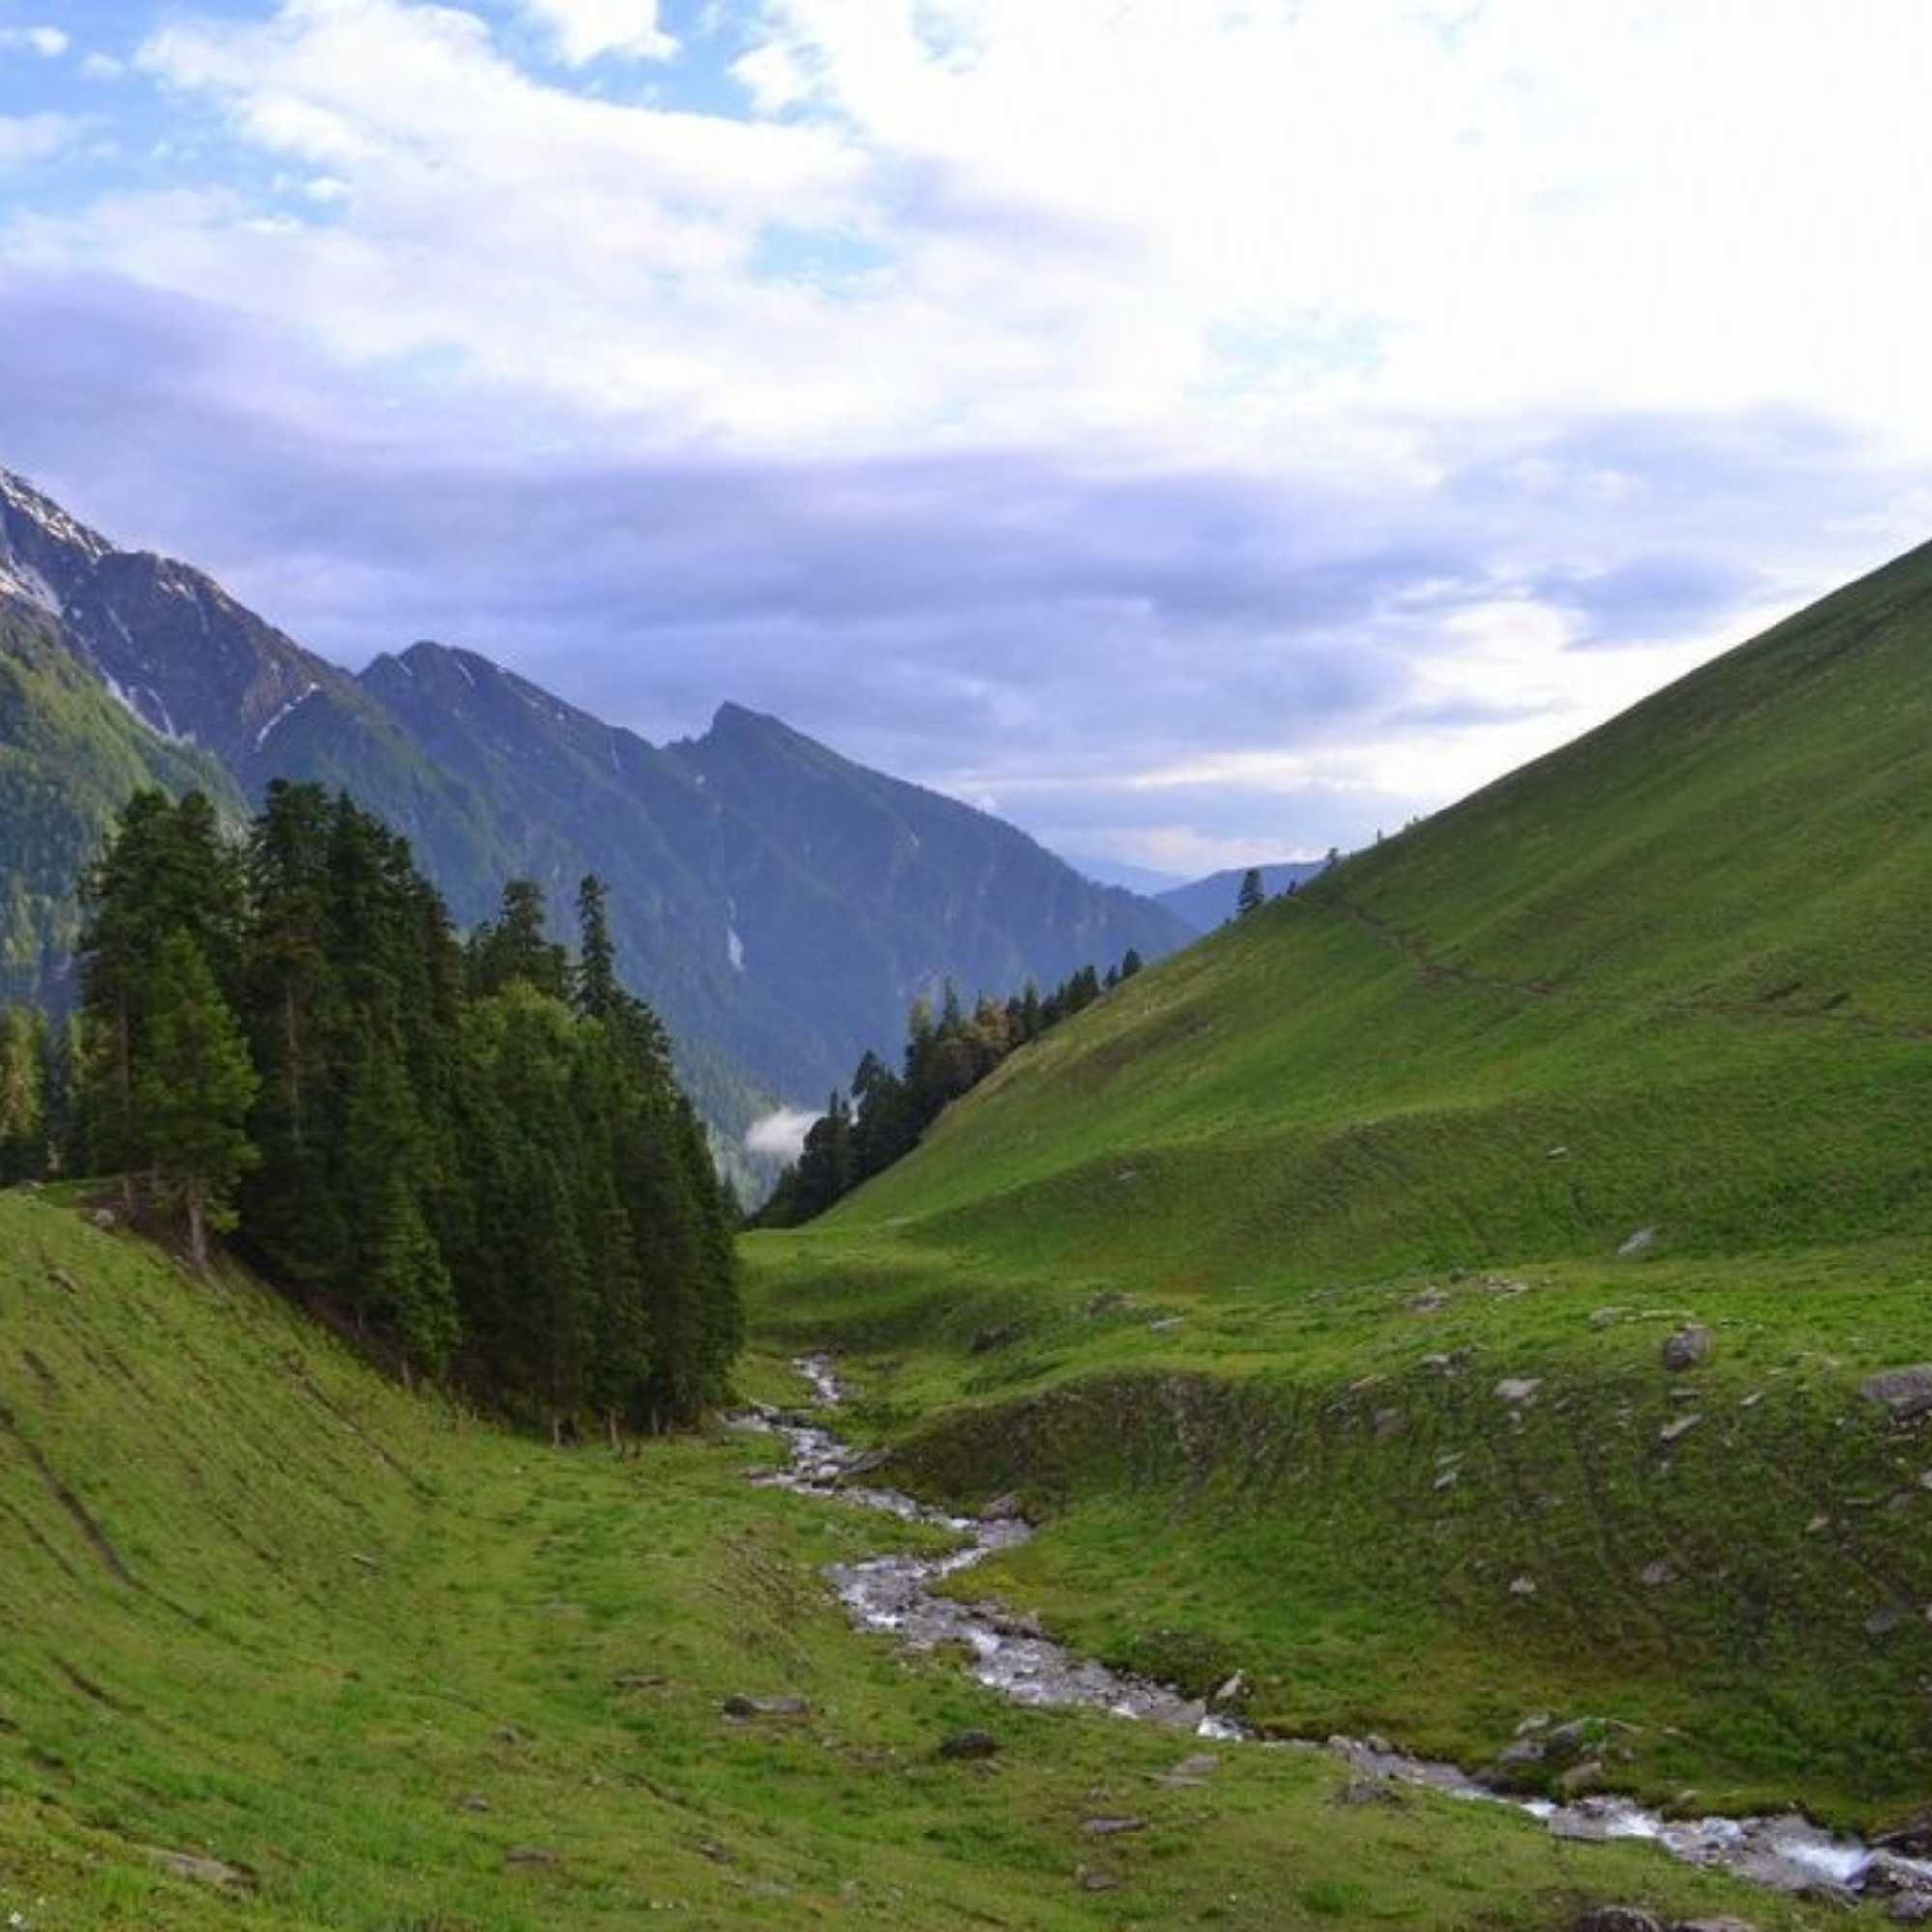
Treks in Pabbar Valley: The Complete List for 2026
Planning to explore the treks in Pabbar Valley in 2026? This complete guide covers the region's best hiking trails, difficulty levels, ideal seasons, trail highlights, and essential planning tips for discovering one of Himachal Pradesh's most rewarding trekking destinations.
- Things to Do
 Chanshal Pass
Chandigarh to Chanshal Pass Road Trip Guide 2026: Route, Itinerary & Driving Tips
Planning a road trip from Chandigarh to Chanshal Pass in 2026? This guide covers the best route, driving times, suggested itineraries and practical tips to help you enjoy one of Himachal Pradesh's most scenic mountain drives. Whether you are self-driving or travelling with family, preparation makes the journey smoother and safer.
- Road Trips
- How to Reach